Driveway construction
Let me build you a long lasting attractive driveway.
Whether you want a gravel, asphalt, or concrete finish a robust driveway that will stand the test of time requires planning and a solid foundation. Get it right and your driveway will last many years. Get it wrong and you will be filling potholes every time it rains – or worse.
If you are building a driveway from scratch, or renovating an existing structure I can help design and build a driveway that will last.
I can design and implementing proper drainage and culverts, table drain shaping, geotextile underlay, road bed placement and compaction, and road top shaping and compaction of a gravel driveway for effective water shedding and a long life.
This is all necessary if you plan on topping your driveway with asphalt. A good foundation will benefit a concrete drive too. I don’t provide asphalt and concreting services, but I’m always happy to work with other tradespeople to get the job done to your satisfaction.
Step 1. Drainage
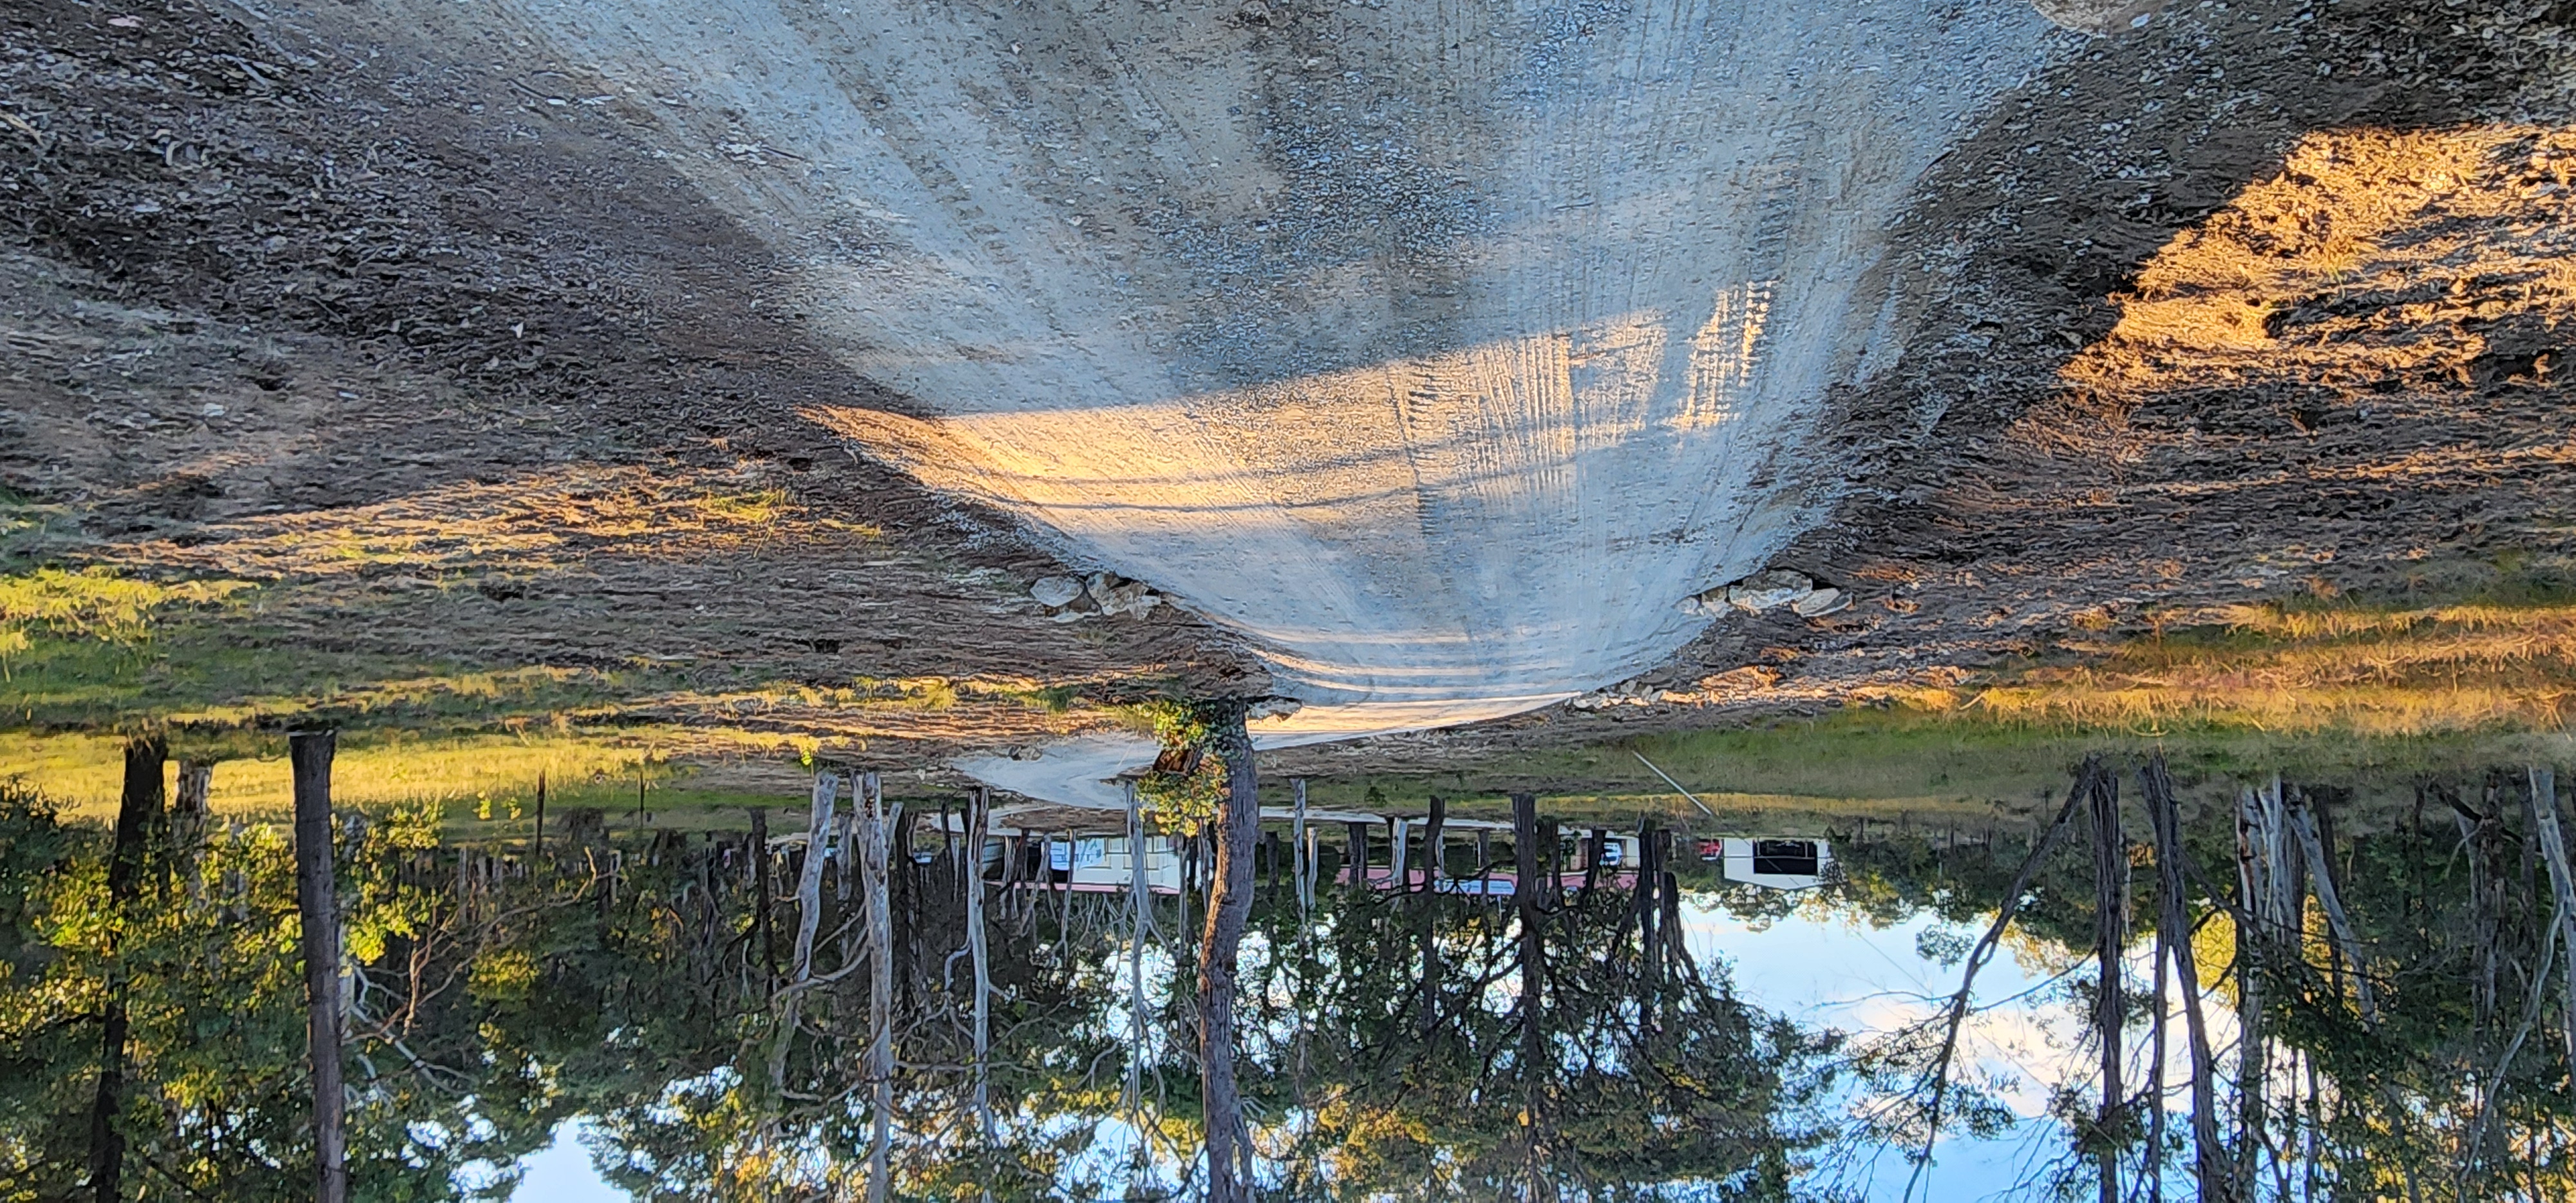
This is the most important part of any driveway construction. Like the foundations of a house, if the ground isn’t stable and well drained then it won’t support the load placed on it. The first thing to do is work out where water goes when it rains and make sure that the design is not going to cause water to pool and create wet spots or run over the driveway. This may require the installation of table drains and culverts to take water underneath or away from the driveway.
Step 2. Preparation
Once proper drainage has been implemented we remove top soil and grass back to a stable foundation to build up from. Gravel placed on top of soil and grass will over time sink and be driven into the soil creating a muddy mess so it must be removed.
Step 3. Support
If the area is well drained and removing the top soil leaves a stable foundation material then it may be possible to place crushed rock straight on to it. If however the foundation material is clay and the surrounding area is flat and prone to becoming water logged, then a layer of geotextile fabric might be required between the foundation and the first layer of gravel. Geotextile is strong, inflexible cloth that prevents the gravel of the driveway being pushed down into a soft foundation material like wet clay when vehicles drive over it. It will greatly increase the lifespan and stability of a driveway.
Step 4. Body
With the driveway path prepared it’s time to build it up with layers of gravel. Depending on the situation it may be advisable to start with larger 50mm crushed rock to bring the road bed up above the surrounding ground level, before adding layers of 20mm road-base material (a mix of small crushed rock and fines).
Regardless though each layer should be well compacted as it is laid down to ensure a single cohesive, stable body of gravel is created.
Step 5. Final shape
If your driveway is going to be gravel, or finished with asphalt then the top of driveway should be given a smooth convex shape, higher in the middle, to shed water to the table drains along the sides. This prevents water from flowing along the driveway and – in the case of gravel – creating erosion of the surface and softening the gravel to allow potholes to form.
If you are planning a concrete driveway, then the foundation shape will more likely be flat, however a well drained, properly formed and compacted foundation will prevent cracking and slumping of the concrete over time and add the most value to your property.
Step 6. Maintenance
Gravel driveways can last many years, but with enough traffic their surface will wear and potholes and erosion can still form. That’s where maintenance comes in. Keep an eye on your driveway, notice where water lays around it, and where table drains and culverts may become clogged by grass or debris. A little preventative maintenance to keep the driveway well drained can prevent bigger problems from occurring and creating damage that will be more costly to repair.